DIY Geiger Counter – Planning

I’ve always wanted to have and build a Geiger Counter. This doesn’t mean I want to start experimenting with radioactive materials, I just have a general interest. At most I might collect items from thrift stores that measure higher than normal amounts of radiation. At most I wouldn’t mind sputtering the radioactive metal onto glass slides.

Found some tutorials but the most appealing to me was one built by tanner_tech featured on HackADay.com recently that utilized a 555 timer and a step up transformer to get the 400V. 400V across the tube allows gamma rays or beta particles to start the ionization completing the circuit.

After settling on a design I purchased 3 Russian Geiger tubes CI-3BG / SI-3BG from ebay link here. They sent me 4…. Win!

I want to take this one step further and have the data output to a screen and log that data rather than just make noise. So the end result will be an Arduino or Raspberry Pi to control the Geiger Counter. I just need to learn the best way to take the 400v pulses and turn that into something a microcontroller can safely read. If you know the best way to do this please contact me.

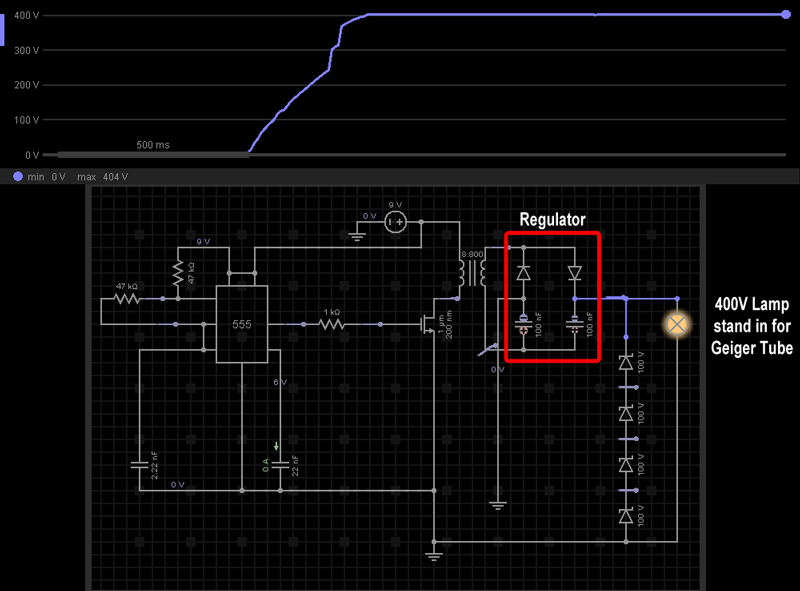
After a few corrections to the circuit to level the voltage to a consistent 400V I believe I’m ready to begin building the initial geiger counter. That is after I get a few other projects out of the way. Being able to simulate the circuit, as shown below, was a huge help.

Parts List

  • 1x 555 timer
  • 2x 47k resistors
  • 1x 22nF capacitor
  • 1x 2.2nF capacitor
  • 1x 1k resistor
  • 1x 8:800 ohm transformer
  • 1x Any N-channel MOSFET
  • 2x 1n4007 diode (on regulator)
  • 2x 100nF 500 volt capacitor (on regulator)
  • 4x 100 volt zener diode
  • 1x Geiger tube (in simulation I’m using a lamp)

If built from scratch, buying parts in small quantities each unit is estimated to cost around $12-$15 so not bad at all.

Recreation of the circuit with simulation on EveryCircuit

Friggin loving Every Circuit! Visually seeing the results and being able to tweak values during live simulation is beautiful.

Links to original design

Tanner_tech’s Instructables

[instructablesUP username=”tanner_tech” num=”6″ thumb=”true” tileview=”true”]

SainSmart L293D Fail!!

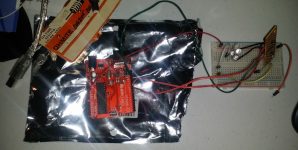
This is a project in the works but what the hey here’s sort of a preview. The plan is to use 2x 400MHz transceivers via 2x arduinos to control the motors on this RC car. I’ve already taken the original controller board out of the car and made room for the new components.

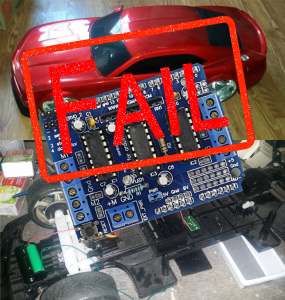
So I was sitting here setting up a SainSmart L293D Motor Driver using specs and guidance from Adafruit and either I missed something or the information is wrong. At 3.5vdc it works but could be pushed so I grabbed an 18vdc drill battery thinking it would be fine because the circuit as quoted from Adafruit below states that it is rated to 25vdc.

25vdc my foot cause as soon as I set it up smoke popped and I smell burning on both the arduino and motor controller. It still seems to work but surely problems will rear their head.

Just ordered better motor controllers (same as the one used in my R2D2) and 18650 battery holders. Wouldn’t be so bad but I think the arduino board is fried.

Just so anyone else is aware this is the link I purchased my L293D from on Amazon. I already complained but I’m not the first to do so.

4 H-Bridges: L293D chipset provides 0.6A per bridge (1.2A peak) with thermal shutdown protection, 4.5V to 25V

https://learn.adafruit.com/adafruit-motor-shield/overview

Arduino and UV Lights for Glow in the Dark Decorations

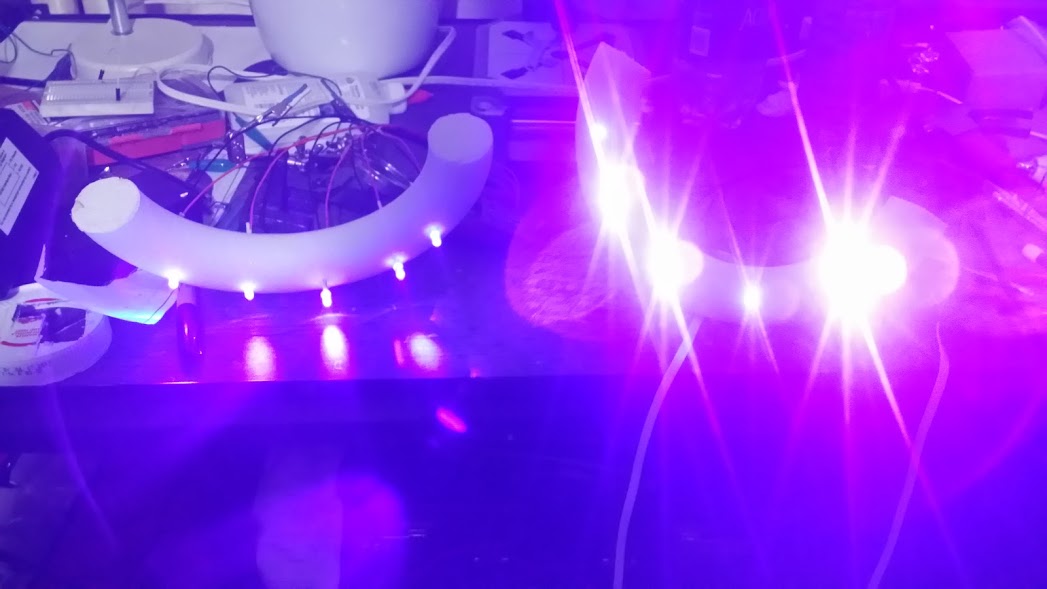
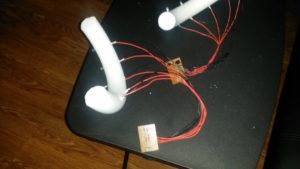
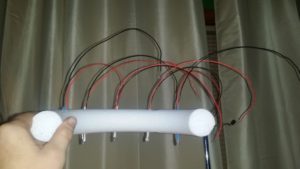
My wife, MrsRedBeard, made some glow in the dark heads for Halloween decorations. They glowed but very dim and not for very long so why not kick it it up with UV lights. But why stop there when there’s an Arduino laying around?

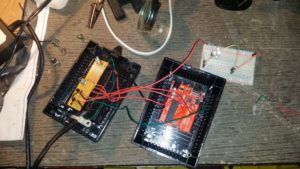
Using the Arduino I made it so that the lights fade in to brightness, blink, hold for a few seconds then turn off for a while and loop.  The code for this can be found on GitHub.

I’m not getting real in-depth on how to do this because most of it is really basic. If you want additional information just Contact us.

Parts / Materials

  • Arduino
  • UV LEDs from Adafruit
  • An old CAT 5 cable
  • 2 screw terminals
  • 2x 2N3904 Transistors
  • Wire
  • A salvaged project box
  • Styrofoam ring cut in half
  • A empty circuit board

Pictures of the project

Parsing Digital Sheet Music MXL Files – Stranger Things Theme Song on Arduino

Arduino Stranger ThingsI’ve been toying around with playing music using simple tones on the Arduino. I’m no composer or musician so looking around for sheet music I eventually stumbled across MXL files on a few sites like MuseScore.com. Below I have posted a sample of the Arduino playing the Stranger Things theme song.

MXL is a compressed XML file that contains the Sheet Music data, Credits, Parts, Voice Definitions, Notes, Tempo and Durations along with other information. Basically a universal format designed for composing music, project sharing and several additional applications.

Ok so MXL files, what I keyed in on was that the MXL file contained the Notes and their Durations. This is perfect because you can create a simple Arduino code to play notes if you have this information. Sorting through these files is very daunting and time consuming so I decided to create a simple app to parse this information to use it more easily.

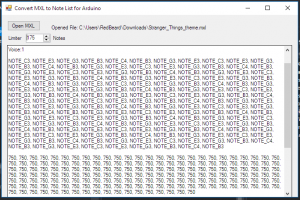
This app was banged out pretty quickly so please forgive possible errors. Because some MXL files are compressed and others are not I built in the code necessary to unpackage the XML before parsing. The app allows me to separate the notes by voice with their durations. In addition I placed a numeric control that limits the amount of notes that get parsed. A screenshot example is on the left.

Huge thanks to Shvelo who’s Ruby code got me pointed in the right direction.

I have this project posted on GitHub where you can obtain the code for the app as well as the Arduino sample code.

You can download the compiled app from GitHub.

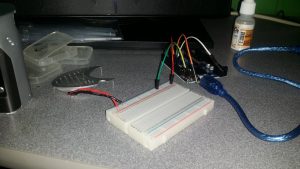
Arduino SetupPlaying the Stranger Things theme song on the Arduino was a bit tricky tweaking the tempo to make it sound right but way easier without having to manually extract the notes and durations. To the left is the simple Arduino setup using piezo from a walkie talkie wired to pin 8 and ground on the controller. Ignore the other wires because they’re not used here.

A thanks to Riley Apperson on MuseScore for his/her Composition of the Stranger Things Theme.

Robotics Demonstration

I’ve been giving robotics demonstrations to an Interfaith Summer camp being held by the ITSSM Interfaith Center while sharing some love for the AR Innovation Hub. The Hub has been such a blast to volunteer for and interact with and in addition they are always willing to help.

I wanted a way to demonstrate and provide immersion for children to learn a little about robotics so I threw this together. It’s not pretty but it sure is effective. Upon request I’m willing to write up details on the components, wiring as well as share the code used.

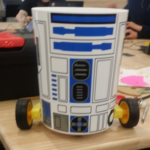
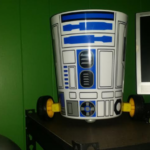
In addition I also toted along the R2D2 trashcan that my daughter and I built. This was a huge hit but also caused a mess when the children used R2 to transport popcorn.

A simple push button interactive arduino setup


The R2D2 trashcan that I wrote about previously controlled via bluetooth and app on an android.


R2 Trashcan

This was a fun little Arduino Robotics project that I built with my daughter at the AR Regional Innovation Hub an awesome place I mentioned in the Maker Faire post a while back. Come to think of it I need to post about this year’s Maker Faire. Anyways the robot can be controlled via bluetooth using an Android app.

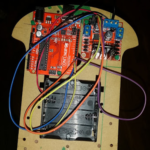
We have everything mounted to a chassis from another robotics kit much like the Ardokit but only to hold the parts. The motors were aligned with arms of R2 that were printed on the trash bin which turns out are not entirely even with each side. It should not have been a surprise but hey we wanted it to look cool. This posed additional problems with the motor mounts being flat which canted the wheels out. R2 moves a bit awkward. The plastic trash can from Target is a bit brittle so I had to tape the drill marks first and drill with care. A caster was mounted under the front of the R2 to stabilize.

Parts

  • R2 trash can from Target
  • IEIK UNO R3 Board ATmega328P from Amazon – Not an authentic arduino but works great and is cheap.
  • Motor Controller – I think this came from an ebay purchase
  • JBtek HC-05 Wireless Bluetooth from Amazon
  • Battery Pack
  • Motors and wheels from something like the Ardokit from Amazon but I’m not a fan of these because the terminals are real week and broke with very little stress.
  • Caster

I have better parts most from Adafruit coming in soon for a cooler more thought out project. Better wheels, better chassis and better motors.

RedBeards Lab Gets New Equipment

Is that a pile of junk? That is a gold mine for this guy. New equipment for the RedBeard lab. I have no idea if any of this stuff works except the centrifuge which does very well.

My son has an interest in becoming a Genetic Engineer so I told him well I don’t know much about that subject but I will learn enough to get you started. After reaching out to friends I got this equipment donated to the lab.

Some of this equipment is old but what better way to learn. Lets see if we can wire some of this stuff to a Raspberry Pi or Arduino, re-purpose it, hack it and/or learn from it.

  • Spectrometer
  • Gas Chromatograph
  • Electrophoresis Power Supply
  • Centrifuge


Projects for 2016

Happy New Years Everyone!!!

Here’s a preview of a few projects that I have planned for this year.

Automated AeroGarden

An automated AeroGarden based hydroponic-ish herb garden. I picked up this AeroGarden version 3 at a resale shop for about $8. I took it apart, cleaned it up, tested the unit and found it to be in working order. I need to replace the tubing and filter but all in all that’s a good find. I will be doing this project in stages. First will be 3d printing the planter cartridges that hold the sponge and just get the unit functioning. 2nd will be automating a few functions using an Arduino and holding tanks for nutrients and reserve water.

AeroGarden

Time-lapse Camera

An Arduino based Time-lapse Camera. This will be used in production of Dared to Survive shows.

Game Camera

An Arduino based Game Camera that will also collect environmental information such as Temperature, Humidity, etc. The data will be stored on an SD-Card and will be later used in an app to develop forecasting predictions.

Passive Repeater

I want to attempt a few things with a Passive Repeater design that integrates simple bi-directional amplification and/or filters.

Bench Top Power Supply

A simple bench top power supply made from PC and Server power supplies.

More Podcasts

I plan on starting a weekly 15 min per episode podcast covering my top 5 favorite Instructables projects.

I’m sure this list will change throughout the year so stay tuned. Have project suggestions or requests? Reach out to me @Mr_Red_Beard  on Twitter.

My DIY E-Cig Was on HackADay

A while back I posted a DIY Variable Voltage E-Cig how-to on Instructables.com and it eventually got picked up on HackADay.com here. I look at articles that make their way to HackADay as successes so when I found out that mine had made it I got excited and nerded out.

DIY E-Cig

Since then I have taken feedback from readers and updated the schematics to be more efficient and longer lasting. I have plans to one day publish an Arduino based variable voltage and wattage version with display that will fire sub-ohm coils.

Top